
Effortless Fishtail Updo


Tools
Hair Razor (optional)
Prep Hair
Start each client with dry shampoo. If their hair is clean, it gives it texture at the roots. If their hair is dirty, it absorbs the oils and builds even better texture.
Run a small amount smoothing product from pony tail to ends to help keep the style smooth as you work through it. If the hair is too soft, use a cream or wax product over an oil.
Section Hair
Create a triangle section in the fringe area. Adjust the triangle placement based on how the client parts her hair. Example: If client parts hair to left, shift the triangle more towards the right.
Take the crown in a half circle type section. I use the ends of the eyebrows as a guideline. For fine hair, take this section deeper in the back.


For thick hair (skip this step for normal-fine hair) - Make a subsection from behind the ear to the hairline. Take all of the remaining hair and create as tight bun of a bun as possible at the nape of the neck. This will be your base. Skip ahead to “Front Sections - Part 1” *
Take another half circle section from the ears back


Bottom Sections
Spray the hair with a heat protectant that has a hold to it.
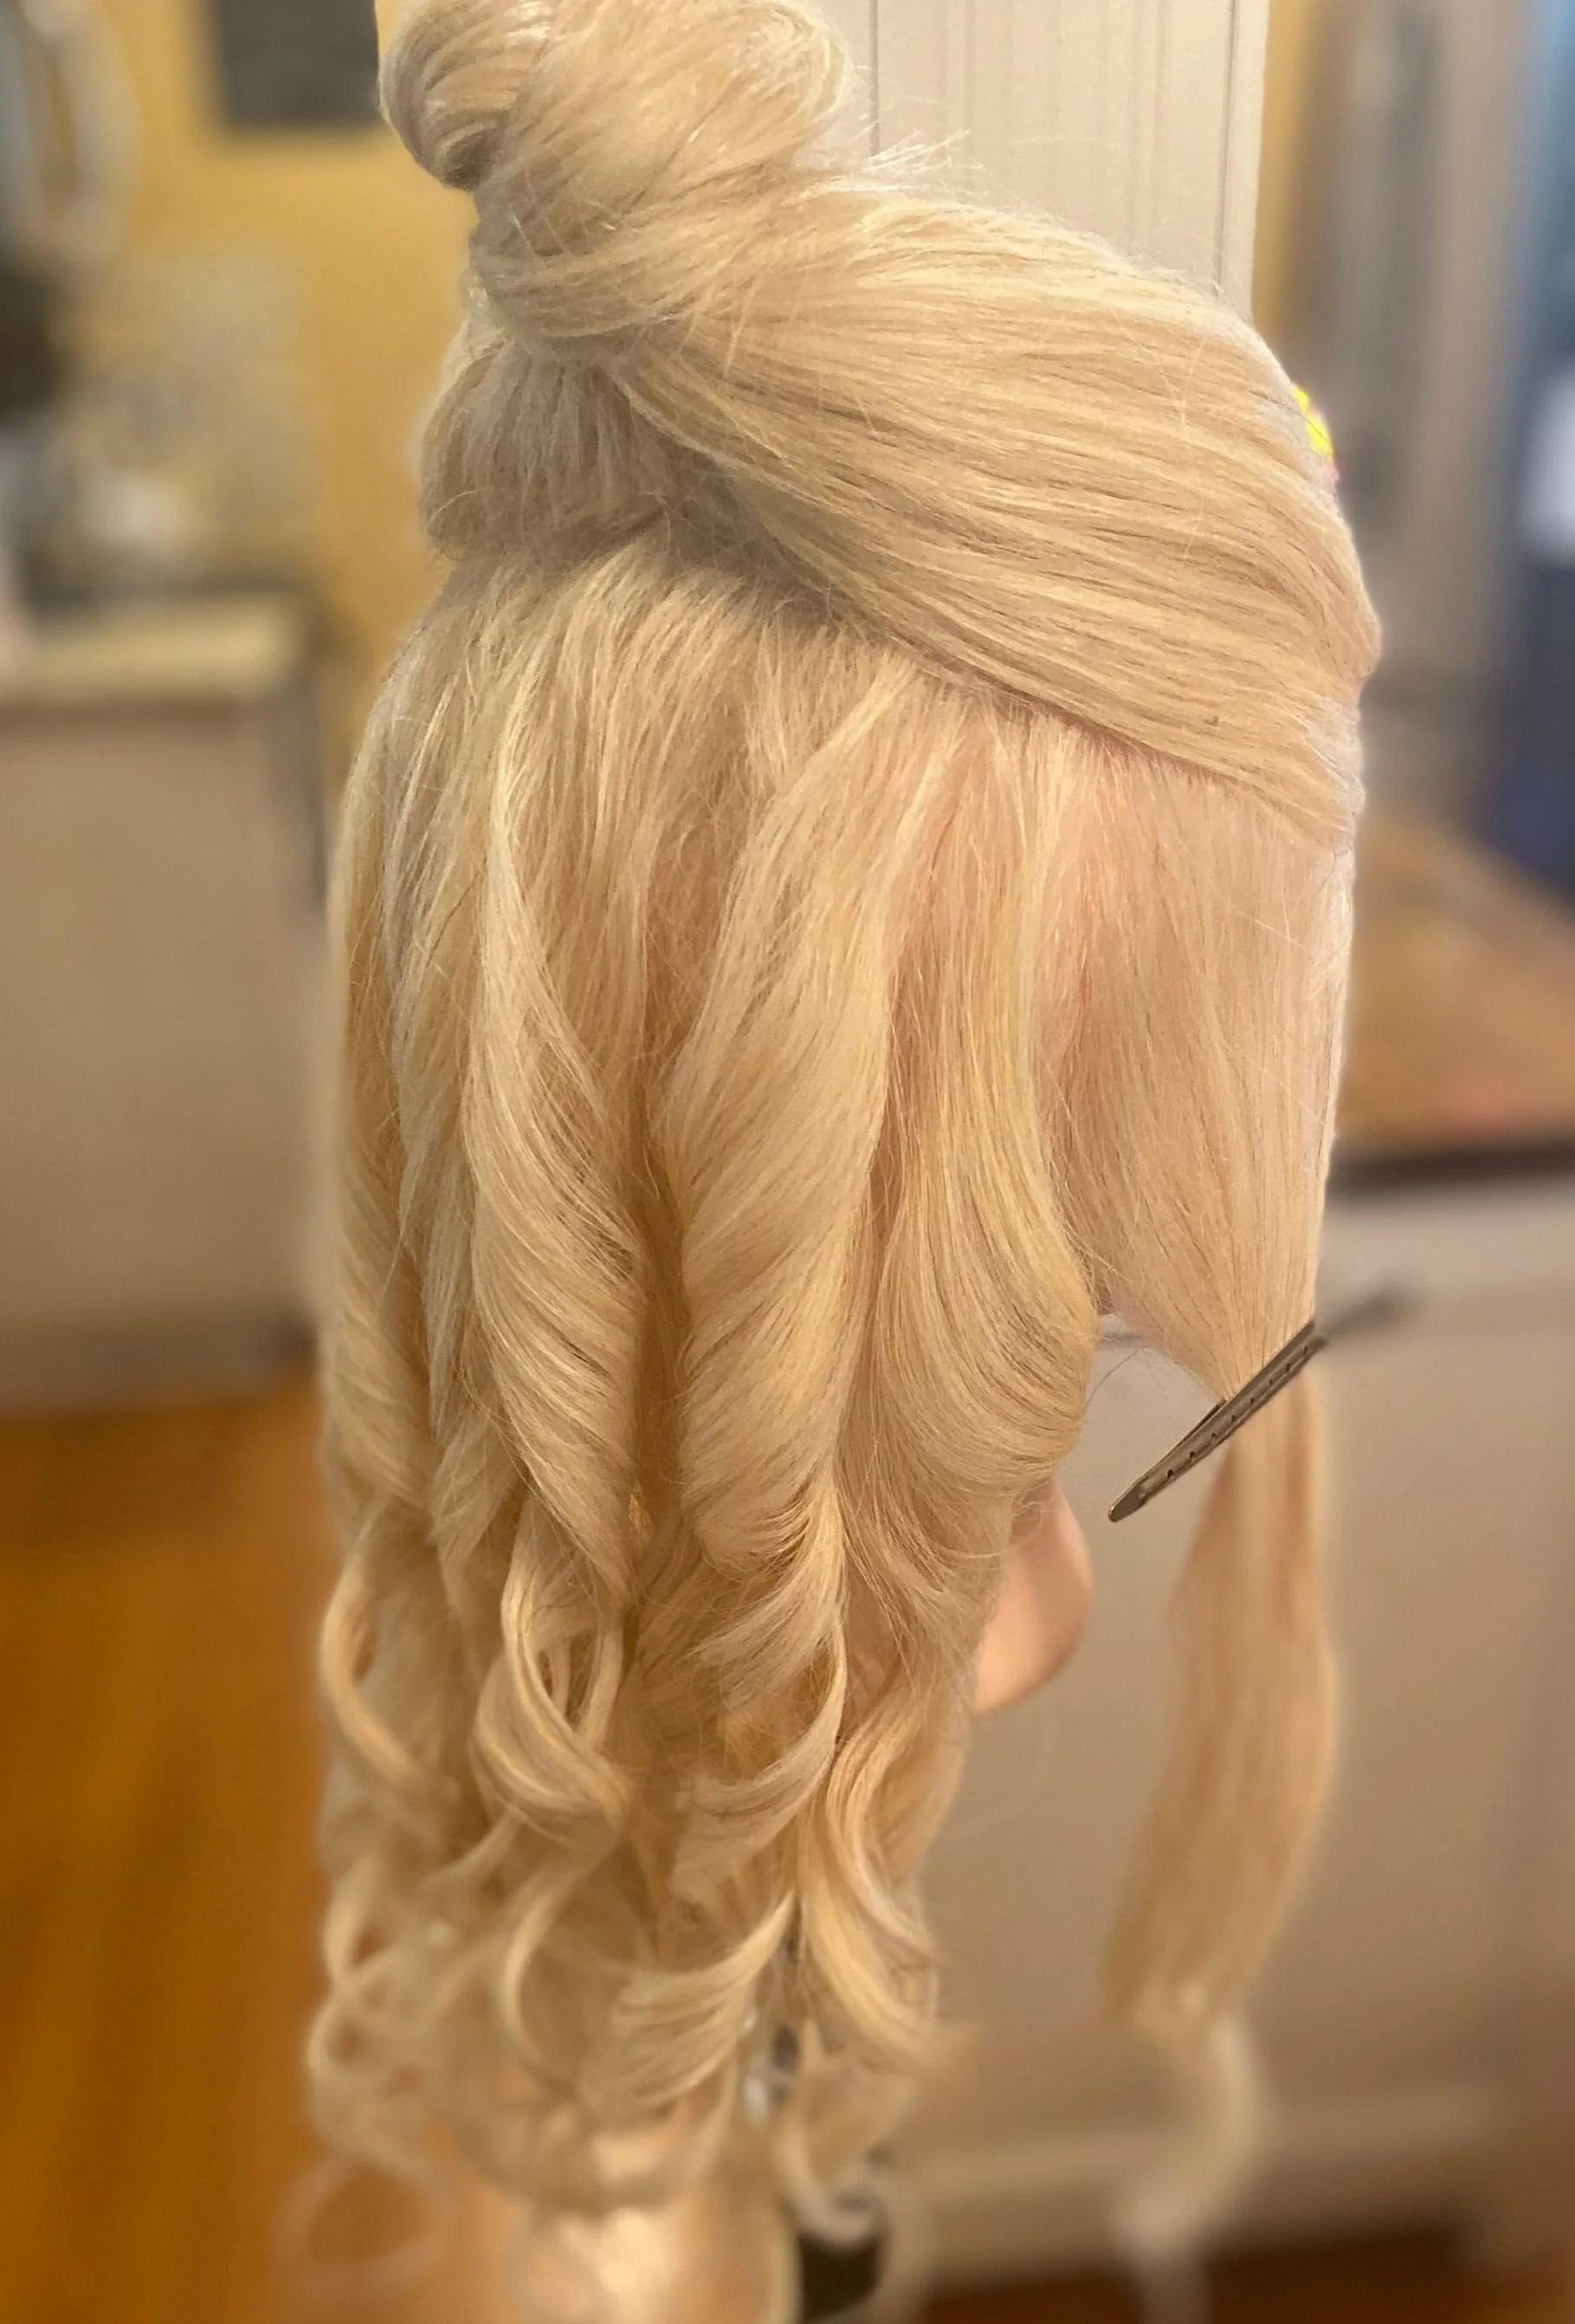
Using a 3/4 inch curling iron, curl bottom section. Curl larger pieces at the bottom since this area will be hidden in your style.
Pro Tip - Gradually make the curls smaller as you move to the top of the head
Drop down your next section and make a subsection from behind the ears to the hairline.
Tease the hair at the base in horizontal sections. Tease in pretty wide sections but only take them about 1/2 inch deep. Apply a little texture powder at the roots to help with grip, tease, then hair spray each section to lock it into place. If your client has very fine hair, use a crimper at the roots before teasing.
Curl the hair in an alternating pattern. This helps create more movement in your style.
Take a small elastic and create a tucked up bun at the nape of the neck. Secure elastic to the head with bobby pins, then pin the loose pieces into the bun. This is your base.
Move to the front subsections.

Front Sections - Part 1
Use a flat iron to smooth along the hair line well.
Curl both subsections of hair away from the face.
Drop down the top section.
Create a subsection for your braid. Cut a wide diagonal on the side that your client parts their hair. The section needs to come slightly into the crown area to help you achieve a wide, effortless braid.
Take a smaller diagonal subsection on the opposite side.

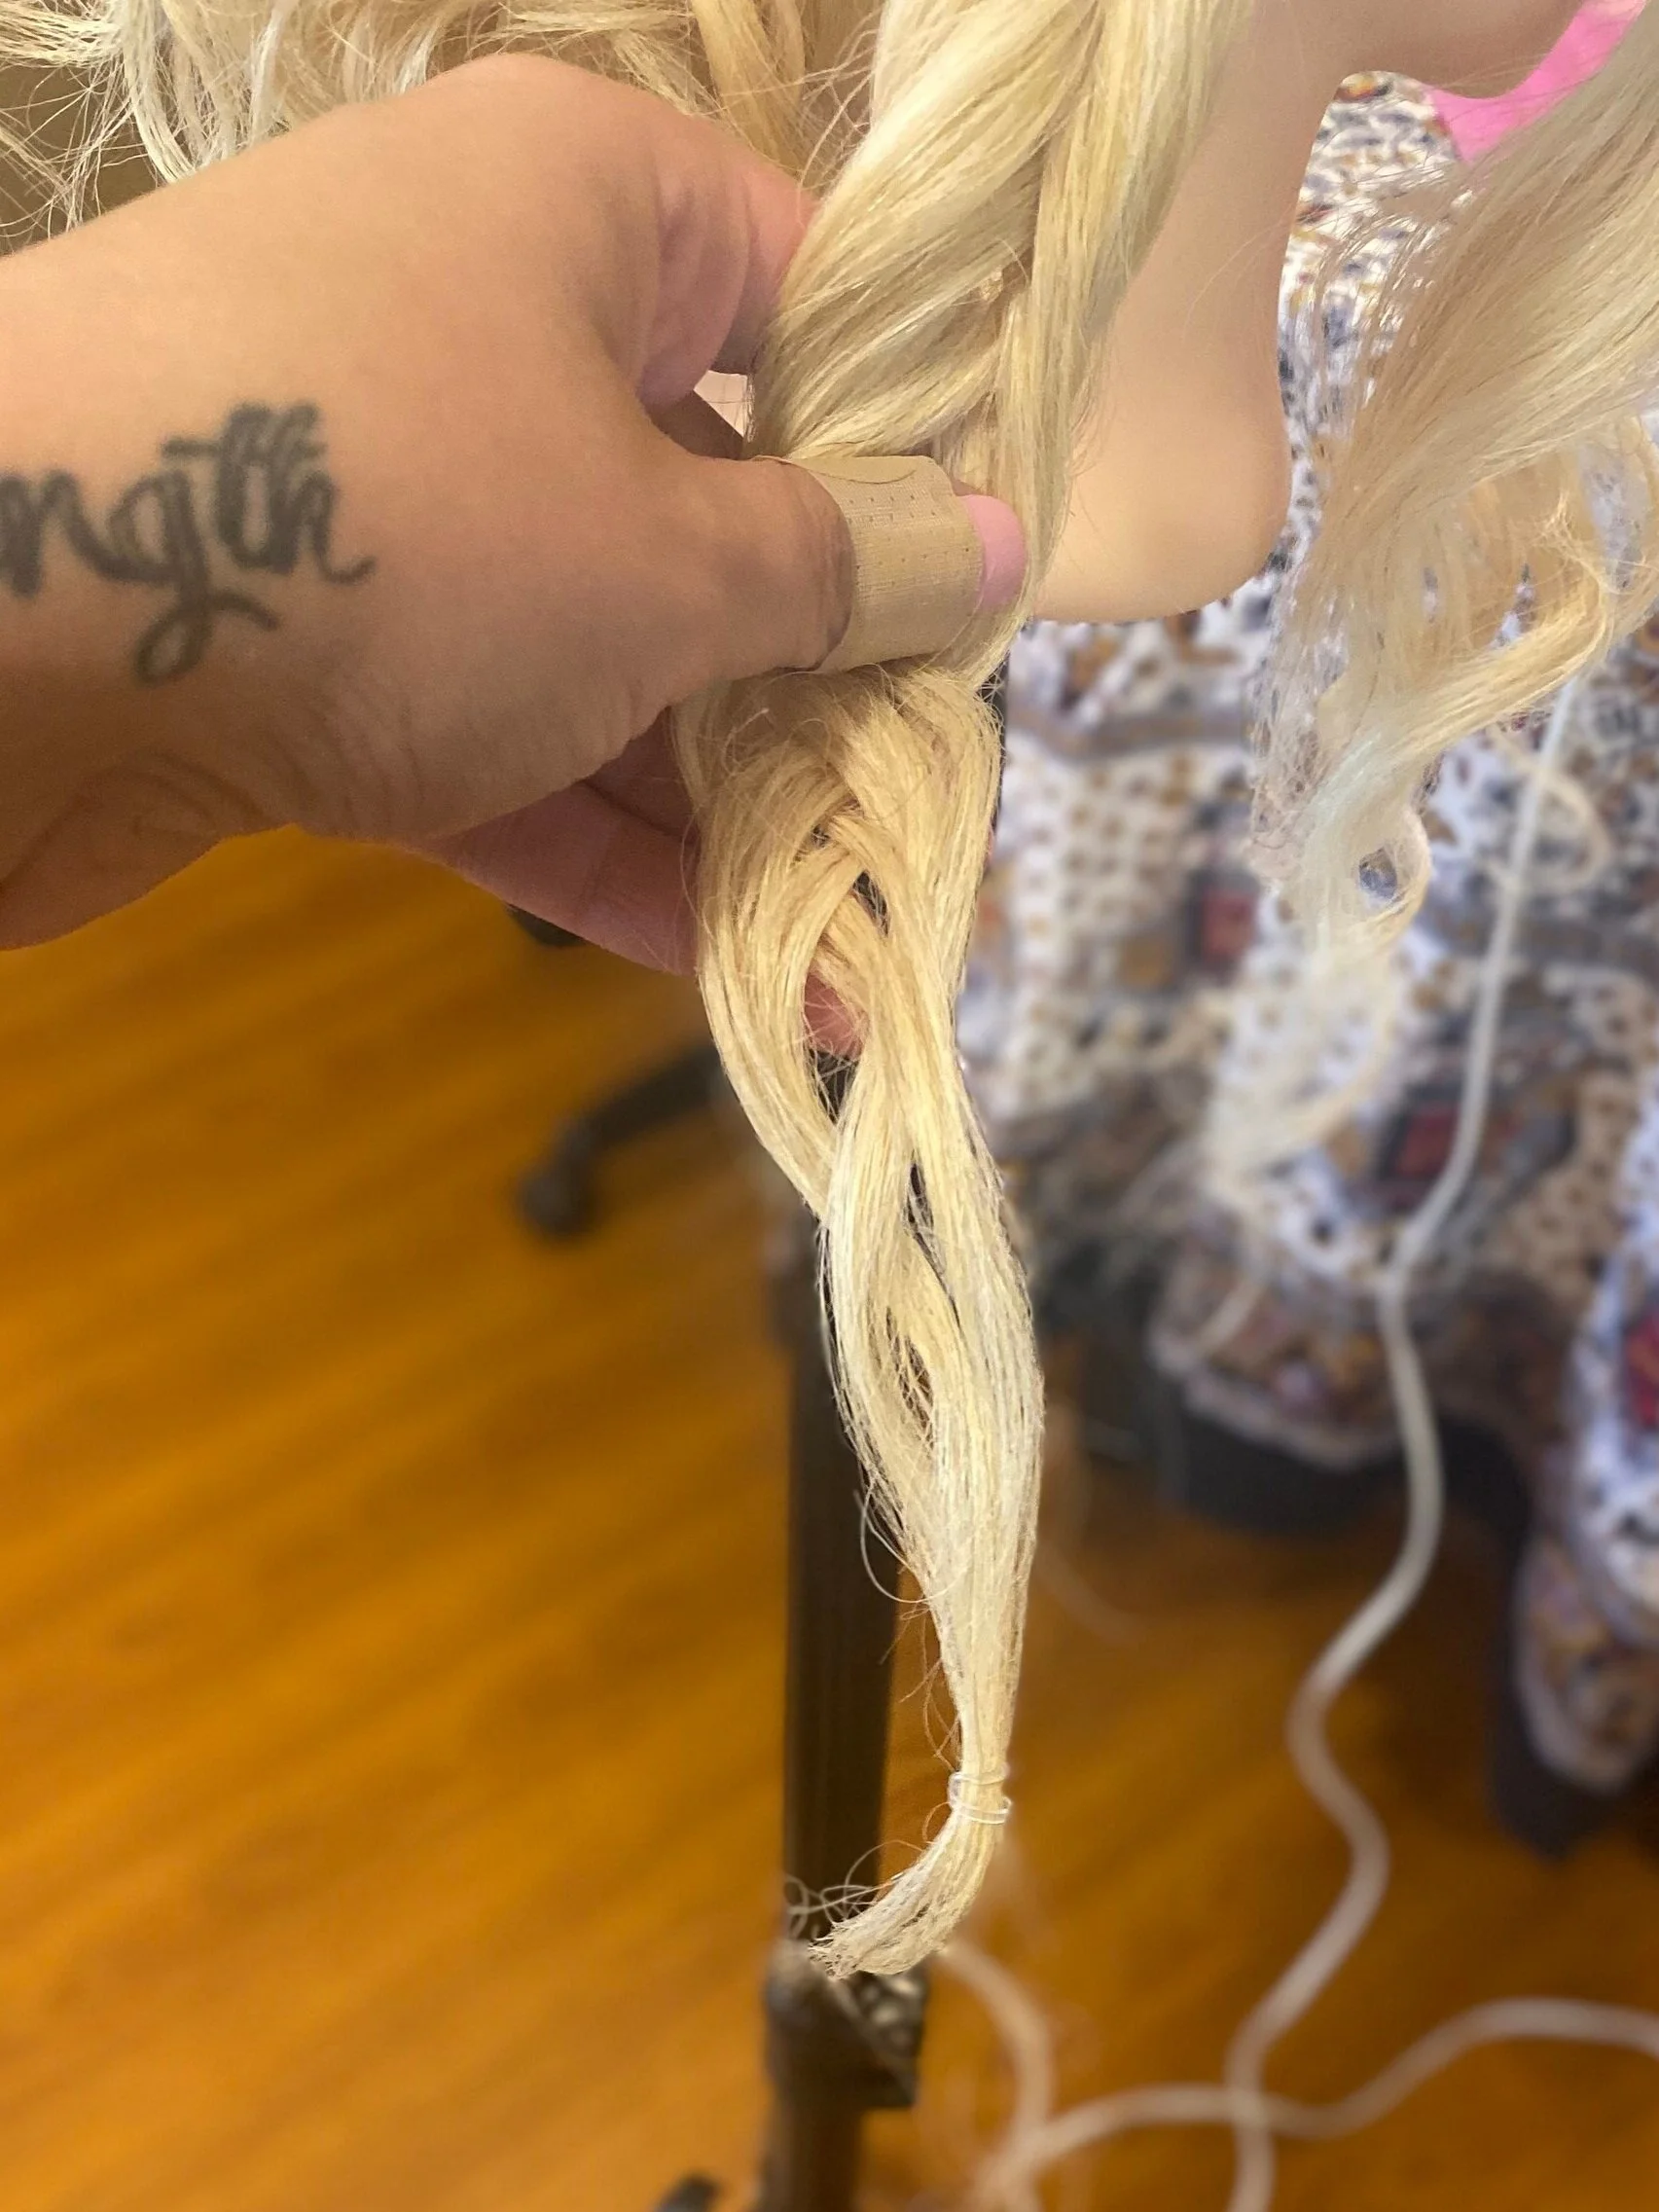
Please excuse my band-aid :)

Crown Section
Start at the top of the head, tease in the same method as before, then flat iron the base to lock it in place and allow your style to look smooth. Work your way down teasing in sections.
When you have teased the bottom layer of this section, begin curling that layer with small curls.
Drop down and curl one section of tease at a time.
When you reach the top layers, wrap the hair around the iron (like a wand curl) to give the style lots of movement in the crown.


Take a small elastic and loosely ponytail the section.
Topsy tail the ponytail inwards.
Use a bobby pin to secure the elastic to the head.
Hold the bobby pin. Pinch and pull on the section the create that soft, effortless look.
Leave remaining curls hanging or gently twist and pin them into the bun.


Front Sections - Part 2
Take down subsections and tease the hair horizontally in the same manner as before.
Flat iron along the hairline and curl each teased layer as before.
Curl section. Do wrap curls on the top layer as before.


Drop down the fringe section. Have client check their part.
Tease in horizontal sections (Some of the sections may be a little more diagonal than horizontal.)
Flat iron several inches past the base.
Begin your curl around the eye area. If you curl this piece close to the root, it will not swoop back easily.
Repeat on opposite side.

Build Style
On the opposite side of the part, split hair into two diagonally.
Give the hair a very subtle twist backwards and secure the top half to the head.
Use a hair pin to softly secure ends into the bun. Leave curls hanging or tuck them into the bun.


Grab bottom half of the hair. Visually choose pieces around the hairline to give the style an effortless look.
Drop this section lower, gently twist and pin as before.
Use a hair pin to pin the tails into the bun.


Move to the opposite side and section out the front of the hair.
Section out the front of the style. In the fringe area, take a small half-triangle type section, then diagonal the section back like the opposite side, clip out of the way. (The more familiar you become with this style, the less sections you will need to create. I do this to help you visual understand what areas of the hair you are working with at a time)


Braid
Split hair into 3 pieces
Starting with the piece closest to the hairline, underhand braid the strands one full rotation (under, under, under). This helps to lock your fishtail in place.


Take the middle strand and simply hand it to the stand furthest from the hairline. You are now working with 2 strands instead of 3.
Take a very small piece from the furthest strand (that you just added to), pass it under and add it into the hairline strand.


Pick up hair from the scalp, pass it underneath and add it the hairline strand.
Take a very small piece from the outside of the hairline strand (that you just added to), pass it under to the furthest stand.
Pick up hair from the scalp, pass it underneath, and add it to the furthest strand.


Repeat steps 4-7 moving downwards, then diagonally towards the back of the head, until all the hair you’ve left out for your braid is added in.
When you are done adding, continue to pass small pieces from one strand to the other underneath until you reach about 2-3 inches from the end of the hair.
Use an elastic and secure the very end of the hair, leaving a space between the end of the braid and the elastic.
Using a texture powder, cream, or wax; start at the bottom of the braid and start pinching and pulling to get a nice full braid. Slowly work your way back and forward until your braid is at your desired fullness.

Drape the braid back over the top of the updo. Secure the braid into place.

Visually choose pieces along the hairline to leave out, and softly swoop the fringe back into the updo.
Give a gentle twist and secure to the head.
If you chose to leave pieces coming out the bun, visually weave the tails throughout the bun to ensure the placement looks effortless.


Love is in the Details
DO DETAIL WORK! The most important part. Pinch, pull, fluff, secure, spray down fly aways. Do a compete 360 of your client to be sure nothing looks too tight of perfect. I spend at least 10 minutes perfecting the details. It makes all the difference.
With your clients permission, use a razor to cut the pieces along the hairline that may be too long.


Hair spray and shine spray.
Enjoy your beautiful creation!
